Affiliate Disclaimer: This post may contain affiliate links, which means I make a small commission off purchases, at no extra cost to you. Read my full disclosure here.
Health & Safety Disclaimer: This post may contain workout and health advice and information, designed for entertainment and/or educational purposes. Without delay, always consult your doctor before trying out a new fitness regimen. Bodyweight MAX should not be used as a substitute for professional medical services.
Pull Up Bar Workout
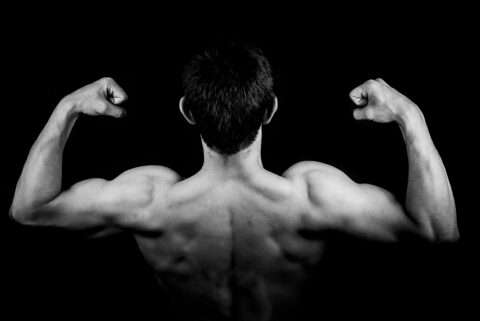
In case you can’t tell, my favorite way to exercise is with the pull up bar. If you want to build a strong upper body, a pull up bar workout is all you need. Read below to activate ALL parts of your upper body with just a single pull up bar workout routine – arms, shoulders, back, and core!
Pull Up Bar Workout: Recommended Equipment
It is important that I tell you that not ALL pull up bars are equal. Depending on what kind you have, you may not be able to do all of these exercises. In order to be able to do the entire workout, you will need:
- A bar that is 100% anchored to the floor or wall and will not wobble or move at all
- A high ceiling or um… no ceiling at all (AKA the sky)
- Something to boost you up for an above-the-bar grip – a partner, a stool, a chair, etc. (for part 5 only)
- I strongly recommend gymnastic chalk or cloths to ensure you have a strong, safe grip
If you don’t have all of these, then I do NOT recommend attempting parts 4 and 5 of this routine!
Once you have a safe setup in place, you can get to the workout.
Pull Up Bar Workout: Remember to Warm Up
Before ANY workout, you must warm up. If you don’t, you risk getting injured, which will set you back in reaching your workout goals. I suggest checking out my wrist workout post and my jump rope post, although you can do any warm up that you like.
*Your goal is to do all 5 parts of this workout TWO TIMES.*
Part 1: Pull Ups

Areas targeted: back, biceps, shoulders, and core
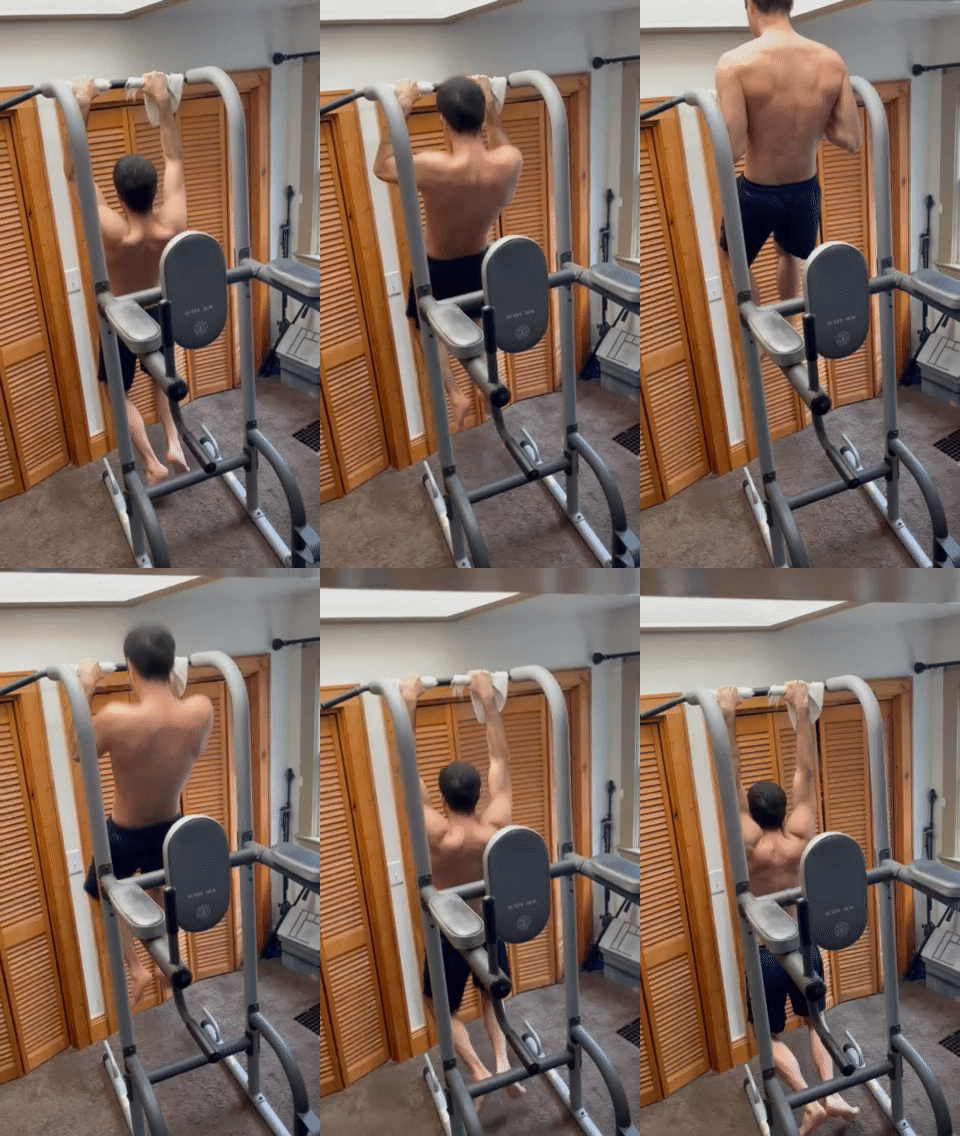
Let’s start with the pull up bar workout’s namesake. My favorite exercise! Grip the bar at shoulder-width, palms facing away from you, and hang. Slowly and steadily pull yourself up so your chin is over the bar. Try to hold your uppermost position for one second before going back down.
For the second round, do a wide grip or archer pull up variation.
Rep goal: 8
1-minute rest
Part 2: Chin Ups

Areas targeted: biceps, back, shoulders, and core
Same deal here as Part 1, only you will hit the arms a lot harder and the back slightly less. Grip the bar at shoulder-width, palms facing towards you, and hang. Slowly and steadily pull yourself up so your chin is over the bar. Try to hold your uppermost position for one second before going back down.
For the second round, do a close grip or wide grip chin up variation.
Rep goal: 8
1-minute rest
Part 3: Hanging Leg Lifts
Areas targeted: core, back, hip flexors, grip strength
Shake off your wrists and hands a bit, because this is true test of your grip strength. Grip the bar in any way you choose – close grip, wide grip (a bit tougher), hands away, or hands facing you – it doesn’t matter in this case. To keep from swinging, you might want to start with a chin up grip at shoulder width. I find that helps me from swinging more so than the other grips.
Once you are in your hanging position, slowly lift your feet up as high as you can without bending your knees. Hold this position for one second if you can, and then slowly lower your feet back down so you’re in your original hanging position.
Your experience with this exercise and similar exercises will determine the number of reps and the range of motion. Don’t get discouraged if you can’t go as high as you want – as long as you do this move consistently, you will get better and better at it.
If this is too hard, then do knee raises instead.
For the second round, I recommend doing a variation: bicycle kicks, angled hanging leg lifts, or windshield wipers.
Rep goal for hanging leg lifts (including angled): 15
Rep goal for hanging knee raises: 30
Rep goal for bicycle kicks: 30
Rep goal for windshield wipers: 20
1-minute rest
Part 4: Explosive Pull Ups

Areas targeted: back, biceps, shoulders, and core
It is time to improve your explosive strength. Grip the bar at shoulder-width, palms facing away from you, and hang. Engage your entire upper body, including your core, to “explode” and quickly pull yourself up so your CHEST (not just your chin) is over the bar. You will probably start to swing – this is OK. Using momentum in explosive training is normal, and will give you a small boost for every rep.
For the second round, you can do a chin up grip variation if you want. Otherwise, just do the same move again.
Rep goal: 8
1-minute rest
Part 5: Pull Up Bar Dips

Areas targeted: shoulders, triceps, chest, core
Who said you can’t work out the triceps and chest with a pull up bar? They’re wrong! Note that this is a more advanced move, so if you are new to it I recommend having someone nearby to help you if needed. If you can’t do this move, then just do push ups and dips to work out your triceps and chest.
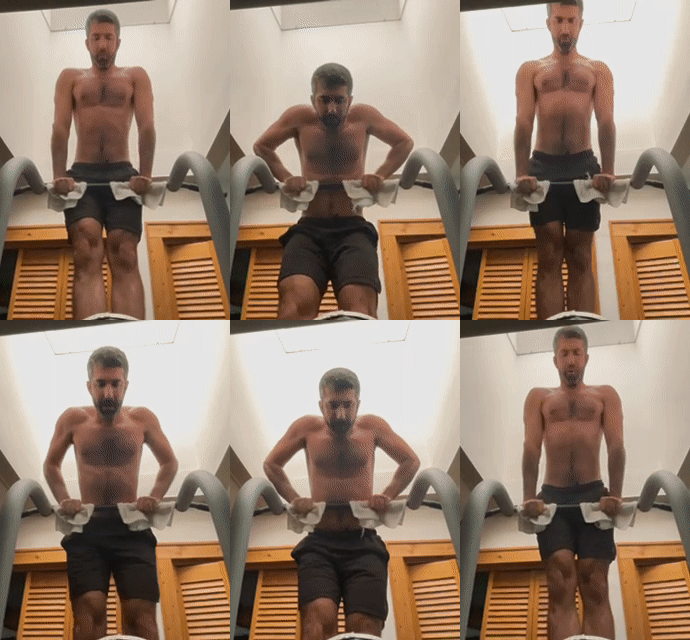
Using your partner or a raised platform, position yourself above the bar so you have to grip it below you. Your starting position will have you raised up with your arms extended and your upper body muscles engaged. Slowly lower yourself down until your chest is touching or almost touching the bar, engaging your core to keep from swinging. Hold this position for one second, and then push yourself back up.
Do this same move for the second round, or you can do an explosive dip instead if you are sure you can do it without risk.
Rep goal: 8
Pull Up Bar Workout: Conclusion
If you follow along with this workout and do it consistently, you will be well on track to a strong upper body. Furthermore, you will greatly improve your progress for advanced moves like the muscle-up and the L-sit. And as always, remember to stretch.
Did you try this pull up bar workout? How do you feel after doing it? Let me know in the comments below!


